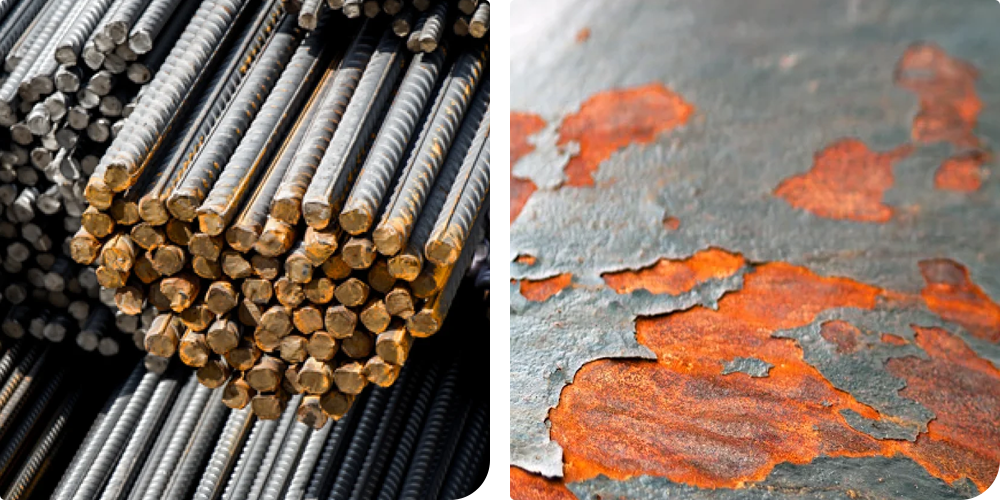
The problem?
Study of metal anchor failure patterns: how did FILAB identify the cause of the failure?
A metal anchor is a device used to securely fasten elements to a structure or support. These anchors are designed to withstand heavy loads, including tensile and/or shear loads, and are often used to fasten structural elements to concrete or other building materials.
The objective of this study is to examine a broken metal anchor in order to identify the cause of the failure. The client wishes to optimize the safety and reliability of its environment and improve the durability of its facilities. This anchor is made of stainless steel and is used to support refractory checkerboards in clay or brick production kilns.
In order to identify the cause, FILAB first carried out fractographic analysis and then assessed the condition of the rod using various techniques on two samples.
Fractographic analysis
The two pieces were carefully cut in the FILAB workshop so that their fracture surfaces could be observed using a binocular microscope and SEM-EDX.
The binocular microscope technique
Optical observations using a binocular microscope revealed the following information:
A flat spot was observed on the edge of both fracture surfaces.
Both fracture surfaces of the piece appear corroded.
SEM-EDX
SEM observations and EDX analysis yielded the following information:
- Cupules were identified, which may correspond to an area of tear-off during the fracture of the part.
- The majority of both fracture surfaces are covered with corrosion composed of oxygen (O), chromium (Cr), nickel (Ni), and iron (Fe).
- Faceted areas, characteristic of a brittle intergranular fracture of the part, were observed under SEM. EDX analysis indicate high levels of iron (Fe) and chromium (Cr) but no nickel (Ni), which may indicate a phase difference in these areas.
Material health assessment
Basic analysis of C and S and analysis by ICP-AES
The results of the chemical analysis carried out on the two metal anchors comply with the specifications of grade X6CrNi25-20 (1.4951) according to standard NF EN 10088-1.
Micrographic analysis
During this stage, the fracture surface was cut lengthwise using a micro-cutter in order to observe the microstructure near the fracture zone and at the core of the part. The specimen was then cold-embedded in acrylic resin and polished to a grade of 0.15μm.
Observations using optical microscopy yielded the following information:
- Before chemical development, the core of the sample shows a few small pores. On the surface, there are large pores and a thick layer of corrosion.
- After chemical development, twinned grains (bands in the grains) are visible throughout the sample. These grains are characteristic of the austenite phase, in line with the grade of stainless steel.
- Sigma phase precipitates are distributed evenly throughout the core of the sample. On the surface, these precipitates are located at the grain boundaries.
Hardness measurement
Hardness measurements were performed on the previously observed metallographic preparation. Differences in hardness values can be observed depending on the area of the sample. The hardness on the surface is higher than the hardness at the core. Furthermore, the hardness at the core is below the theoretical values expected for this grade (158HV instead of 160–225HV).
The results obtained
The analysis carried out in this study yielded the following information:
Fractographic analysis:
Most of the two fracture surfaces are covered with corrosion. They are mainly composed of oxygen, chromium, nickel, and iron. Cupules have been identified that may correspond to an area of tear-off during the fracture of the part.
Material health assessment:
The results of the chemical analysis comply with the specifications for grade X6CrNi25-20 (1.4951) according to standard NF EN 10088-1.
Micrographic analysis provided the following information:
Large pores and a thick layer of corrosion are present on the surface.
Sigma phase precipitates are distributed evenly throughout the core of the sample. On the surface, these precipitates are located at the grain boundaries.
Conclusion of the study
In conclusion, the study conducted by FILAB revealed that the metal anchor in question suffered significant degradation of its mechanical properties due to prolonged exposure to high temperatures (production furnace). This exposure caused changes in the microstructure of the steel, in particular through the migration of the sigma phase to the grain boundaries, which reduced its strength and increased its brittleness. The phenomenon of hot creep, characterized by gradual deformation under the effect of constant stress at high temperatures, ultimately led to the failure of the anchor.
This in-depth analysis highlights the importance of taking extreme operating conditions into account in the design and selection of materials for critical applications.
This enables the customer to find solutions to prevent this from happening again, thereby improving the durability of its facilities and the safety and reliability of its environment.


